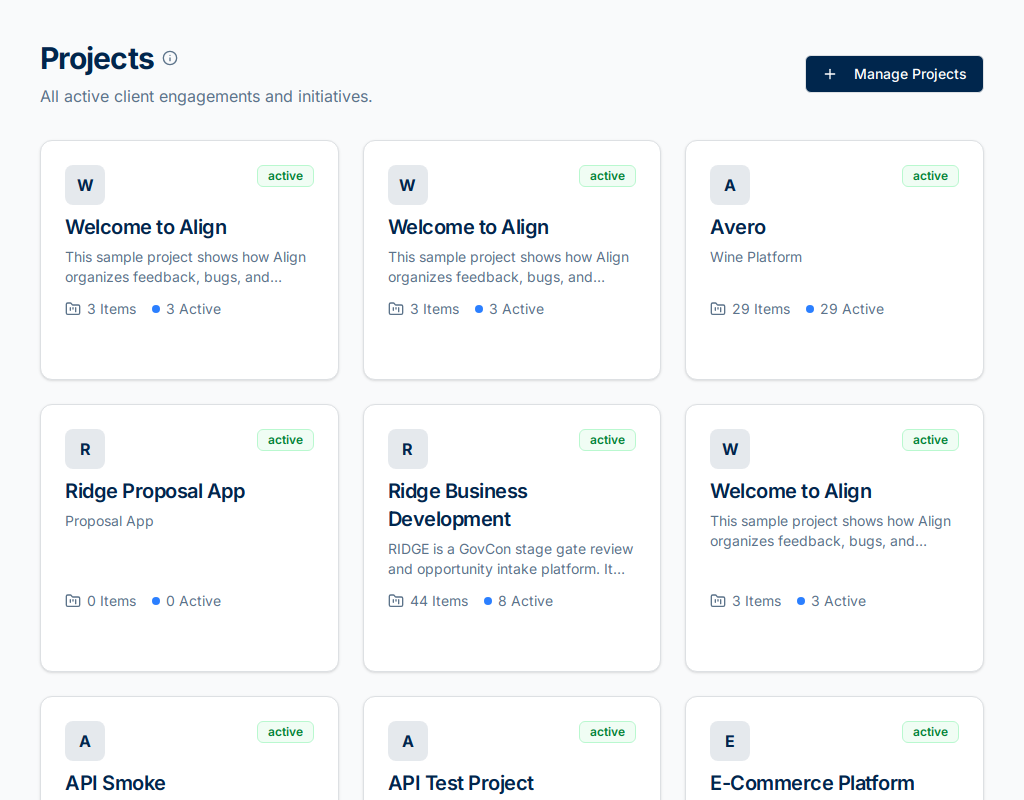
Projects
Projects are the main organisational unit in Align. Each project represents a piece of work — a product, a client engagement, or a development initiative — and contains all its entries, releases, and team members.
Creating a Project
Only admins and project owners can create new projects.
- Click Projects in the left sidebar.
- Click New Project in the top-right corner.
- Fill in the project details:
- Name — a clear, descriptive name (e.g. "Acme Platform v3").
- Description — a brief summary of what the project covers.
- Client — the client organisation associated with this project (if applicable).
- Click Create Project.
You'll be taken straight to the new project's dashboard.

Managing a Project
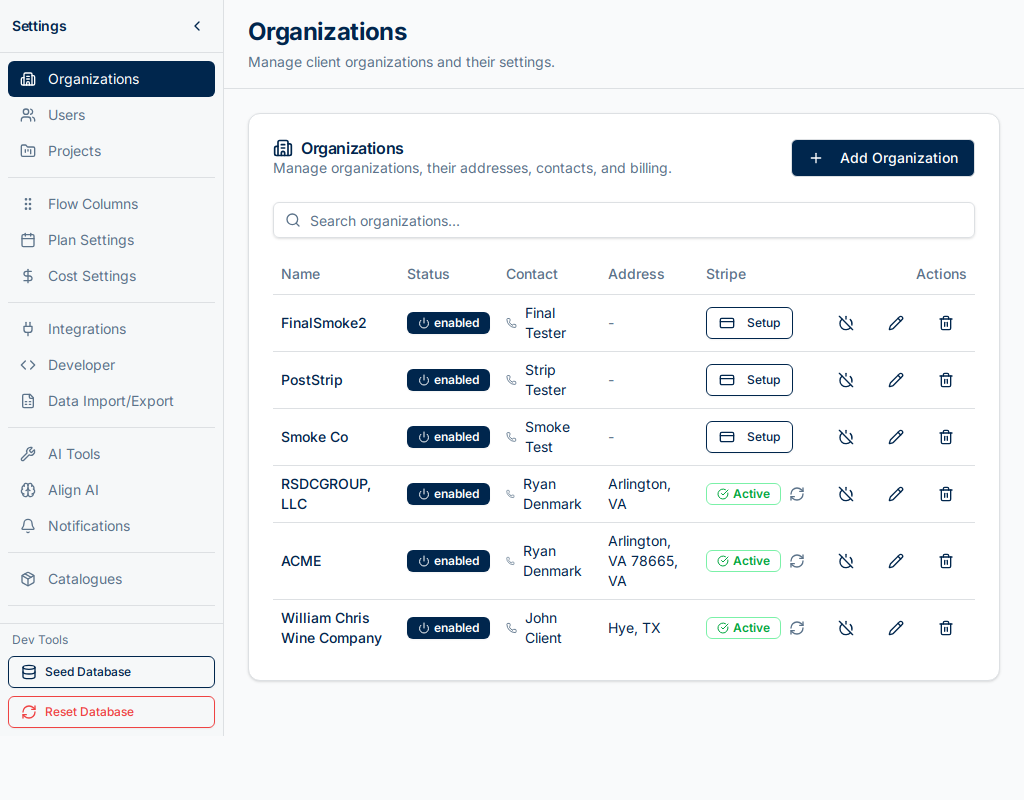
Project Settings
From any project, click the Settings tab to:
- Update the project name and description.
- Change the project status (Active, On Hold, Completed, Archived).
- Upload a project logo.
- Configure inbound email for the project.
- Manage GitHub repository links.
Adding Team Members
- Open the project and click Members.
- Click Add Member.
- Search for a user by name or email.
- Assign a role for this project (Developer, Tester, Client, etc.).
- Click Add.
The new member receives an email notification and gains access immediately.
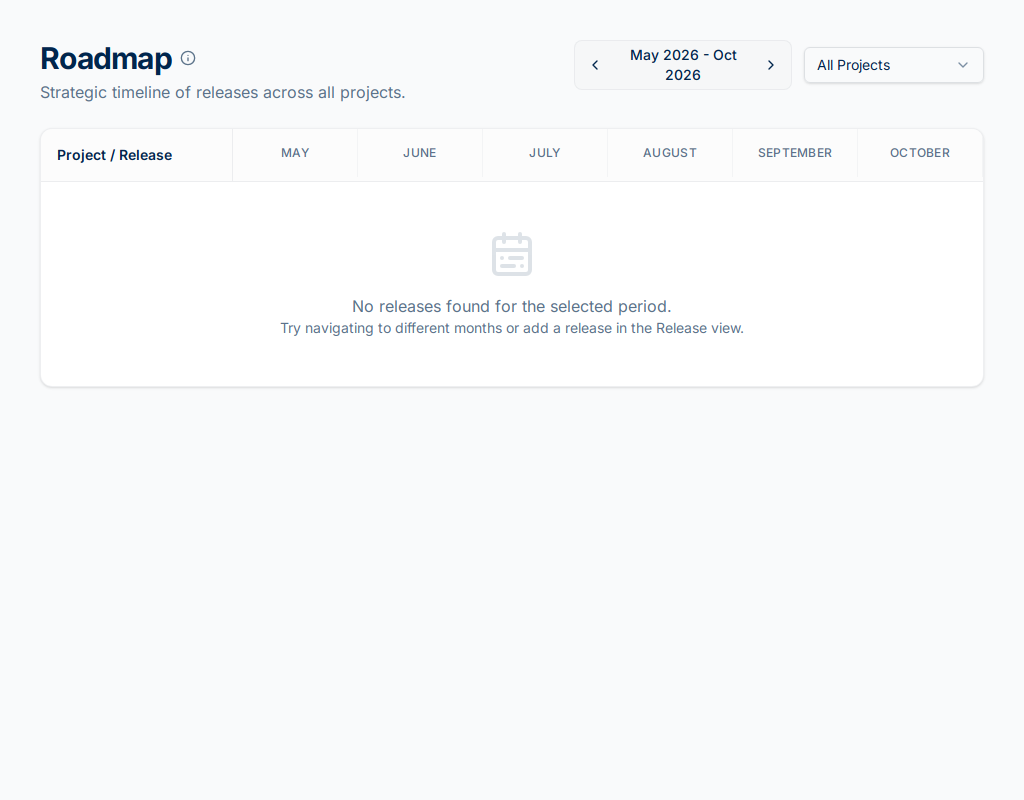
Project Roadmap
The Roadmap view shows all releases for the project laid out on a timeline.
- Open the project and click Roadmap.
- Each bar represents a release, spanning its planned start and end dates.
- Click a release bar to open its detail panel.
- Drag the edges of a bar to adjust dates (admins and project owners only).
Project Statuses
| Status | Meaning |
|---|---|
| Active | Work is ongoing |
| On Hold | Temporarily paused |
| Completed | All planned work is done |
| Archived | Project is closed; read-only for most roles |
Tips
- Use the filter bar at the top of the projects list to filter by status, client, or your own membership.
- Pin frequently-used projects by clicking the star icon.
- Project admins can configure inbound email so clients can submit entries by email — see Settings → Email.